DIY Fixes for Nintendo Switch Stick Drift: Tools and Tips
By Playloot Team · Apr 25, 2026
DIY Fixes for Nintendo Switch Stick Drift: Tools and Tips
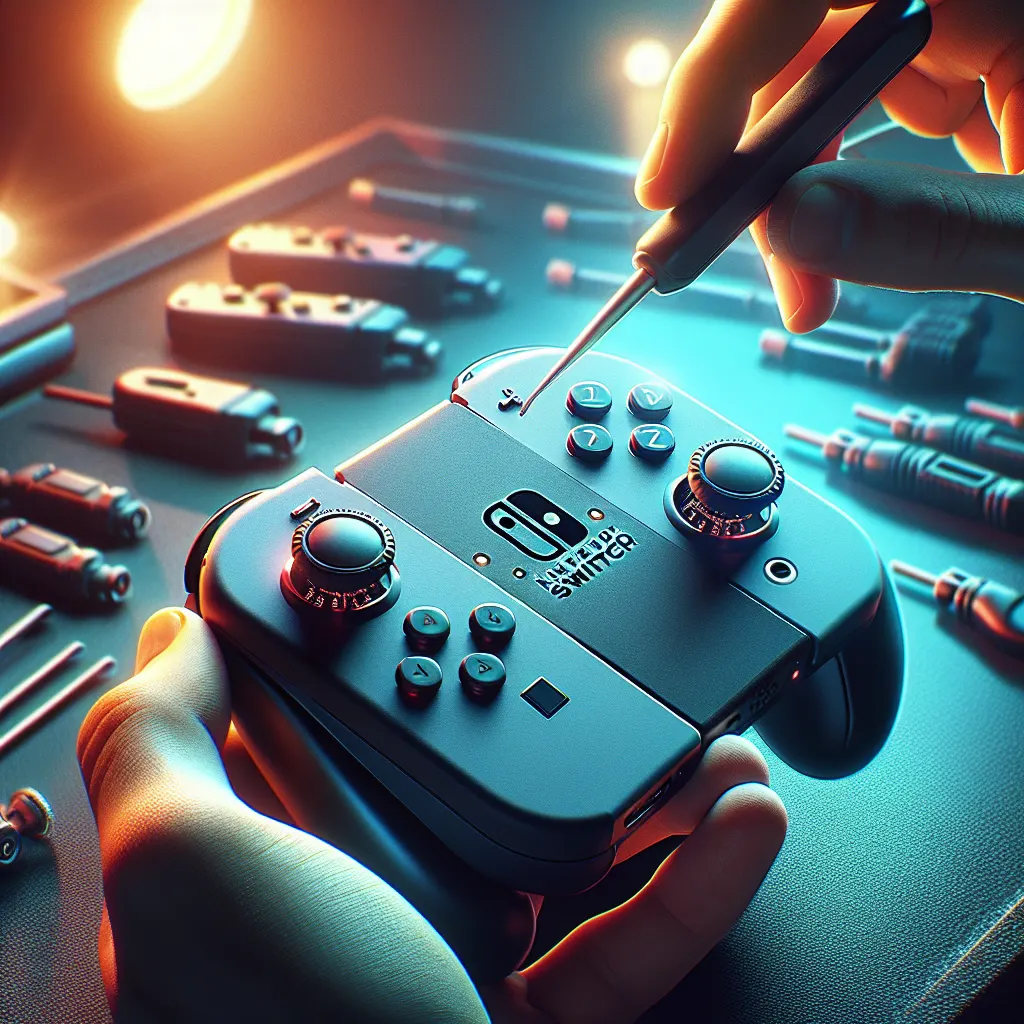
One of the most common issues facing Nintendo Switch players is stick drift, a frustrating problem where the analog sticks on your Joy-Con controllers move input on their own. Luckily, you don't need to shell out for new hardware or send your controllers off to a repair service. With a little know-how and some basic tools, you can tackle this annoyance yourself. Before diving into the repairs, be sure to Back to the Ultimate Guide: The Ultimate Guide to Fixing Nintendo Switch Stick Drift which provides a comprehensive overview of stick drift issues and repair solutions.
Table of Contents
Tools You Will Need
Before you start, gather the following tools and materials to ensure you're prepared for the task:
- Tri-point Y00 screwdriver
- Small Phillips-head screwdriver
- Plastic pry tool
- Compressed air can
- Contact cleaner or isopropyl alcohol (90% or more)
- Microfiber cloth or small precision cleaning brush
- Eager hands and a patient mindset
Step-by-Step Repair Tips
1. Clean the Analog Sticks
First, try the easiest solution—cleaning. Dust and dirt can accumulate under the stick, causing it to drift. Use the compressed air to blow around the base of the analog stick gently. Then, apply some contact cleaner or isopropyl alcohol on a cloth, and wipe the area, moving the stick around so all spots are reached.
2. Remove and Reinsert the Joy-Con Housing
If cleaning doesn’t work, it’s time to open the controller. Carefully unscrew the screws at the back of your Joy-Con with the tri-point screwdriver. Use the plastic pry tool to open the housing slowly, ensuring not to tear any cables. Remove and reinsert the Joy-Con housing to ensure that the analog stick moves freely.
3. Replace the Analog Stick Module
Should cleaning not suffice, you may need to replace the entire analog stick module. Once the Joy-Con is open, use the Phillips-head screwdriver to remove the screws holding the analog stick. Unplug the cable from the old stick and replace it with a new one. Reassemble your Joy-Con by reversing your disassembly steps.
Post-Repair Checks
After reassembling your Joy-Con, perform a few checks in the console's settings. Go to the "Controllers and Sensors" section to recalibrate your stick and test for any further drifting. If everything seems fine, you’ve successfully fixed your Joy-Con!
Frequently Asked Questions
Stick drift can be caused by wear and tear, debris accumulation, or defects in the analog stick's internal sensors.
Regular cleaning and avoiding excessive force while playing can minimize the risk of stick drift.
Yes, using isopropyl alcohol with a concentration of 90% or more is safe and effective for cleaning electronic contacts.
Sometimes, stick drift can be mitigated by thorough cleaning or recalibration. However, more severe cases may require opening the Joy-Con.
Opening the Joy-Con yourself can void any existing warranty, so consider professional repair if your controllers are under warranty.